The following post on depth of field was written by Hawaii photographer Natalie Norton, of natalienortonphoto.com.
 We talk a lot around here at Digital Photography School about Depth of Field. I’m writing this based on the assumption that we all understand that in layman terms, “depth of field” is the portion of an image that is in sharp focus. To illustrate: in landscape photography, generally you’re working to achieve a very large depth of field. You want EVERYTHING in the scene to be in sharp focus. With portraits, photographers are often shooting for (lame pun intended) a more shallow depth of field, focusing in on their subjects and working towards fall off or blur in the background. Why do you think this is the case? Clearly to draw focus to the story being told. Well what if you want to tell a different story OR what if you want to tell the same story in a different way? Today let’s talk about depth of field and some ways you can use foreground in a different way to draw a different kind of attention to the story you’re trying to tell. Here are 3 ways to create “story telling images” using foreground to achieve creative depth of field.
1. Framing with foreground:
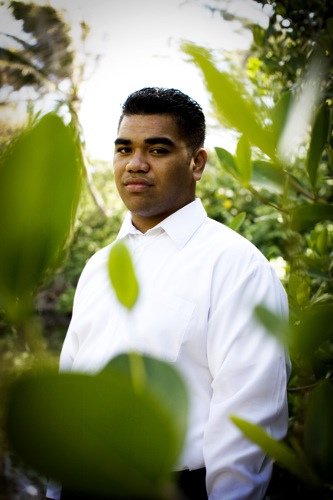
I wanted to find the most straight forward illustration I could to get the point across clearly. This shot (left) is from a recent senior portrait session. I wanted to draw attention to the senior, particularly I wanted him to seem strong and capable: READY to take on the world.
The frame of the foliage around him draws attention right to him… it focuses the story of the image. I recognize that foreground used in this way can also be distracting, this image is borderline distracting, I recognize that. You need to be aware of that and be sure to make foreground work for you, not against you.
How to get a shot like this: well I was shooting with a 50mm lens. I got right up close to the foliage that separated Melvin and I. First I tried with auto focus, but because of my proximity to the leaves, I had to switch over and focus manually.
Check out the rest from this
link

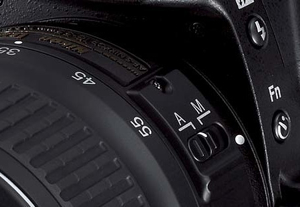 Modern day Digital Cameras present photographers with an ever increasing array of Automatic and Semi Automatic shooting modes. Most of these center around different ways of exposing your shots - however many cameras also give options for different focusing modes (eg - auto, continuous focusing for moving subjects, single point focusing, multiple point focusing, face recognition focusing and manual).


 Posts
Posts

